Recently I worked on a requirement where the main focus was on bulk scheduling a large number of appointments. I used the FSL Optimisation feature to reduce travel time, assign the maximum number of appointments to technicians and provide best possible routing.
In this blog, we in ProQuest Consulting will explain the FSL Optimisation feature, how to enable it, and how it can improve bulk scheduling and routing.
What is FSL Optimisation:
The scheduling optimisation feature helps your field service team comply with SLAs, minimises travel time, overtime, costs, and no-shows. It also maximises efficiency by assigning resources to as many service appointments per shift as possible.
How to enable Optimisation:
Enabling Optimisation in a org is a 3-step process.
- Step 1: Create a Field Service Lightning Optimisation Profile: Refer to this link for details.
- Step 2: Create an Optimisation User: Refer to this link for details.
- Step 3: Log in as the Optimisation User and Activate Optimisation: Refer to this link for details.
Once Optimiser is enabled, you can find the Optimiser button on the Dispatch console.

License:
This feature requires a Salesforce License. If you deactivate the Optimisation user, scheduling optimisation no longer operates.
Building Blocks of FSL Optimisation:
Work rules, service objectives, scheduling policies, and relevance groups are important to efficient optimisations. You can find out more details here.
FSL Optimisation Results:
Once the Optimisation is activated in the Org, we can run the Optimisation by clicking the Optimisation button on the dispatch console to bulk schedule the appointments. Alternatively, we can use the Schedule feature to schedule appointments and then further Optimise to minimise the travel time and to have better routing.
Why not use the Schedule feature instead of Optimisation? I had the same question, however the results from optimisation over scheduling a large number of appointments via the Schedule feature are much better. It is not best practice to use the Schedule feature if you have a large number of appointments to schedule where the requirement is to minimise travel and provide best routing. That’s why Optimisation is great to use. Although, remember it requires separate license to activate the feature.
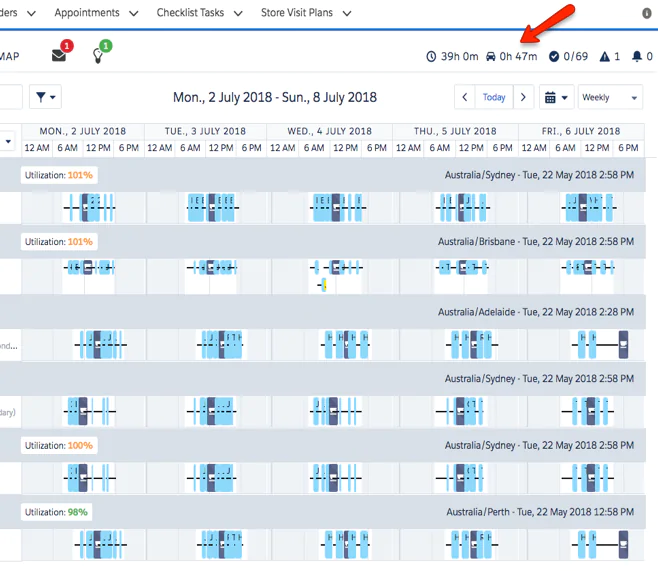
Weekly schedule before and after running Optimisation:
Before:
After:
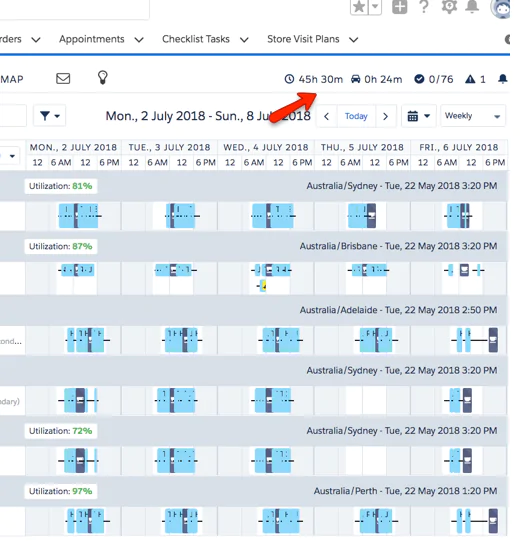
As shown in the above screenshots, after running Optimisation, more appointments are scheduled and travel time is minimised.
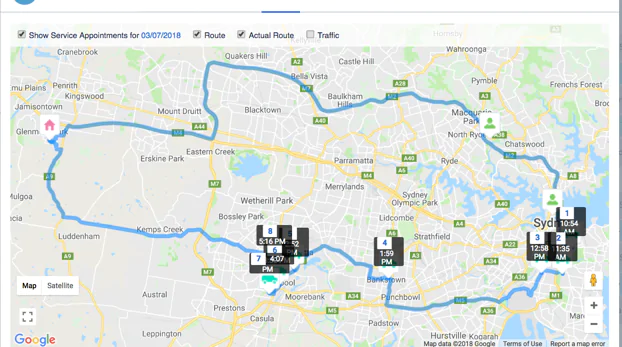
Routes
Before:
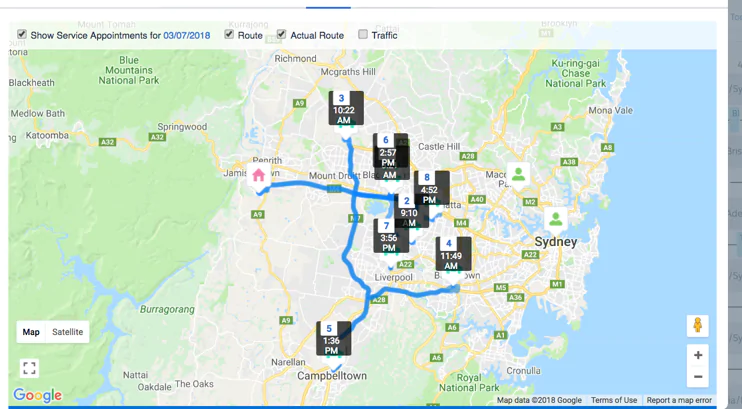
After:
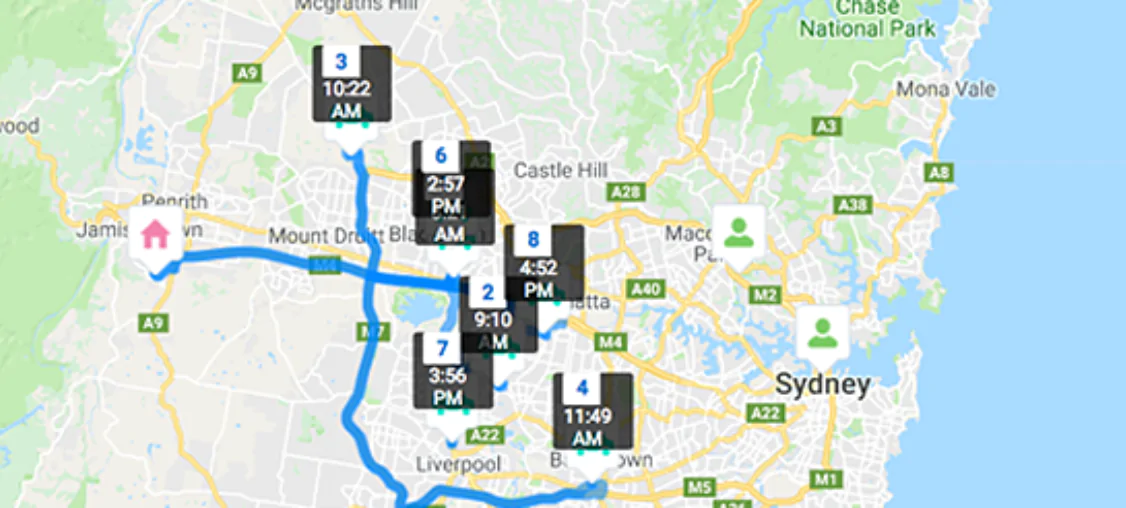
We can see the routes are better calculated by considering the technicians’ Source Location (Home).
Best Practices:
- Run Optimisation multiple times to clear the cache and have good results with better scheduling and routing.
- Limitation: Maximum days optimised per request = 21. In case the User needs to Optimise for a longer period in advance then schedule the Optimisation frequency to run Optimisation frequently.
Let me know if you have any questions!

